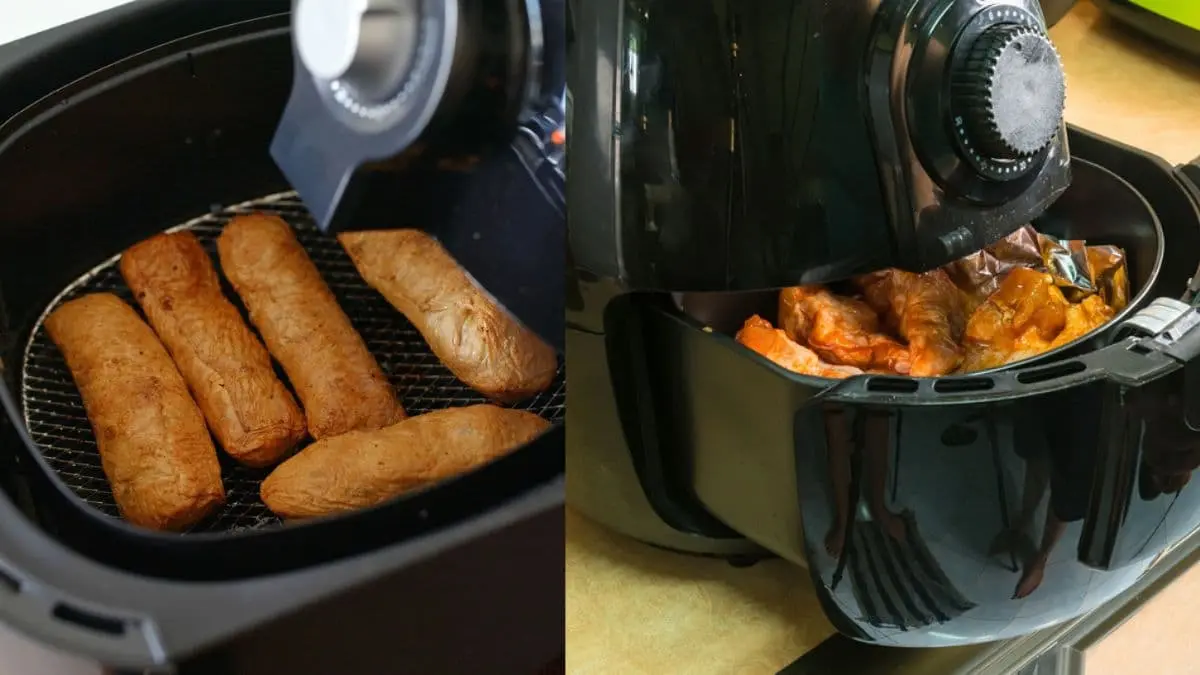
Air fryers are a game-changer in the kitchen—crispy fries, juicy chicken, and perfectly roasted veggies without the extra oil. But after a few uses, you might notice grease buildup, leftover crumbs, or even a weird smell. That’s your cue—it’s time to clean your air fryer.
The good news? Cleaning an air fryer is easier than you think. A quick wipe after each use and a deep clean now and then will keep it working like new. In this guide, I’ll walk you through the best way to clean your air fryer, step by step. Plus, I’ll share some pro tips for tackling stubborn grease and keeping it fresh. Let’s get started!
Why Cleaning Your Air Fryer Regularly Is Important
Skipping air fryer cleaning isn’t just gross—it can actually affect how well it works. Over time, grease and food particles build-up, leading to bad smells, uneven cooking, and even potential safety hazards. Here’s why regular cleaning should be part of your routine:

Prevents Grease and Food Buildup
After just a few uses, crumbs and oil can collect in the basket and heating element. If left unchecked, this buildup can become harder to clean and might even affect your food’s flavor.
Keep your Air Fryer Running Efficiently
A dirty air fryer struggles to circulate hot air properly. This means your food might take longer to cook or come out unevenly crispy. Keeping it clean ensures it works as it should.
Prevents Bad Odors
Ever noticed a burnt smell when using your air fryer? That’s likely leftover grease heating up. Cleaning it regularly keeps unwanted odors from sticking around.
Reduces Health Risks
Old food particles and grease can turn into harmful bacteria over time. If you don’t clean your air fryer, you risk contaminating your fresh food with old, reheated residue.
Extends the Lifespan of Your Appliance
The better you care for your air fryer, the longer it will last. Grease buildup can damage nonstick coatings and even clog the heating element, leading to costly repairs or replacements.
What You’ll Need to Clean Your Air Fryer
Cleaning an air fryer doesn’t require fancy tools or harsh chemicals. In fact, you probably already have everything you need in your kitchen. Here’s what to grab before you start:

Essential Cleaning Supplies
- Soft sponge or microfiber cloth – Prevents scratches on the nonstick surface.
- Dish soap (mild, non-abrasive) – Breaks down grease without damaging coatings.
- Warm water – Helps loosen stuck-on food and grease.
For Deep Cleaning & Stubborn Grease
- Baking soda – Great for scrubbing away stubborn residue.
- White vinegar – Helps break down grease and remove odors.
- Soft-bristle brush or old toothbrush – Perfect for scrubbing hard-to-reach areas.
- Non-abrasive scrub pad – For tougher stains without damaging the surface.
For Drying & Final Touches
- Paper towels or a clean dish towel – Ensures all parts are completely dry before reassembly.
With these simple supplies, cleaning your air fryer is quick and easy. Now, let’s go step by step to get your air fryer looking and smelling fresh again.
How to Clean an Air Fryer
Cleaning your air fryer doesn’t have to be a hassle. Follow this simple step-by-step guide, and you’ll have it looking fresh in no time. Whether you’re doing a quick clean or tackling built-up grease, these steps will keep your air fryer in top shape.

Step 1: Unplug and Cool Down
Before you start cleaning, always unplug your air fryer. This isn’t just for safety—it also prevents damage to the electrical components. Let it cool down completely after use. If you try to clean it while it’s still warm, grease and food particles might smear instead of coming off easily. Give it at least 15-20 minutes to reach room temperature before moving on.
Step 2: Remove and Wash the Basket and Tray
The basket and tray collect most of the grease and food debris, so they need regular cleaning. Take them out carefully and wash them in warm, soapy water. Use a soft sponge to scrub away any residue without damaging the nonstick coating. If there’s stuck-on food, let the parts soak for about 10 minutes to loosen the grime.
For tougher grease stains, sprinkle some baking soda on the basket and scrub gently with a soft brush. If your air fryer’s parts are dishwasher-safe, you can place them in the dishwasher’s top rack—but always check the manufacturer’s instructions first.
Step 3: Wipe Down the Interior
Once the basket and tray are out, it’s time to clean the inside of your air fryer. Use a damp microfiber cloth or sponge with a bit of mild dish soap to wipe down the interior walls. Be gentle, as scrubbing too hard could wear down the nonstick coating.
If there are stubborn grease spots, a paste made from baking soda and water works wonders. Just apply it, let it sit for a few minutes, then wipe it away with a damp cloth. Never use metal scrubbers or abrasive cleaners, as they can scratch the surface.
Step 4: Clean the Heating Element
The heating element is one of the most overlooked parts when cleaning an air fryer. But over time, grease and food particles can collect on it, causing smoke or uneven cooking.
To clean it, turn the air fryer upside down for better access. Use a damp sponge or cloth to gently wipe away any buildup. If you notice stubborn grease, a little white vinegar on a cloth can help break it down. Let everything dry completely before turning the air fryer back upright.
Step 5: Wipe the Exterior and Control Panel
The outside of your air fryer also needs attention, especially if you keep it on the countertop near your stove. Grease splatters and fingerprints can make it look dirty fast. Use a damp cloth with a bit of dish soap to wipe the exterior. For digital control panels or buttons, avoid soaking them—just use a slightly damp microfiber cloth to clean without damaging the electronics.
Step 6: Reassemble and Store Properly
Before putting everything back together, make sure all parts are completely dry. Any leftover moisture could lead to mold or odors. Once dry, reinsert the basket and tray. If you use your air fryer daily, keep it in an easy-to-access spot on your counter. If you store it away, choose a cool, dry place to prevent dust buildup.
How to Remove Stubborn Grease and Odors from an Air Fryer
Even with regular cleaning, grease buildup and lingering odors can be a challenge. Over time, oil splatters harden, and food smells can stick around, making your air fryer less enjoyable to use. Here’s how to tackle those tough stains and keep your air fryer smelling fresh.

Deep Cleaning for Stubborn Grease
If standard cleaning isn’t cutting it, you’ll need a deeper clean. Start by making a paste using baking soda and a little water. Apply this to greasy spots inside the basket, tray, or walls. Let it sit for 10-15 minutes, then gently scrub with a soft brush or sponge. This method helps break down baked-on oil without damaging the nonstick surface.
For even tougher grease, use white vinegar. Dampen a cloth with vinegar and wipe the greasy areas. Vinegar naturally cuts through oil and helps dissolve residue. If the grease is on the heating element, be sure to use a damp (not soaking) cloth to prevent damage.
Banishing Lingering Odors
If your air fryer still smells like last night’s fried fish or spicy wings, there’s an easy fix. First, try wiping the interior with a mix of equal parts white vinegar and water—this neutralizes odors without leaving any residue.
For persistent smells, place a small bowl of baking soda inside the air fryer basket overnight. Baking soda absorbs odors naturally, so when you remove it in the morning, your air fryer should be odor-free.
Another trick? Run your air fryer empty at 350°F (175°C) for 3-5 minutes. This helps burn off any remaining food particles and odors, leaving it fresh for your next use.
Common Mistakes to Avoid When Cleaning an Air Fryer
Cleaning an air fryer isn’t complicated, but a few missteps can damage the appliance or make cleaning harder. Avoid these common mistakes to keep your air fryer in great shape.

Skipping Regular Cleaning
Letting grease and food residue build up makes cleaning much harder. A quick wipe-down after each use prevents stubborn grime from forming and keeps your air fryer running efficiently.
Using Abrasive Scrubbers or Harsh Cleaners
Steel wool, scouring pads, or harsh chemicals can scratch the nonstick coating inside the basket and tray. Once damaged, food starts sticking, making future cleanups even worse. Stick to soft sponges and mild dish soap to keep surfaces intact.
Getting the Heating Element Too Wet
The heating element needs to be cleaned, but never soak it or use a dripping wet cloth. Excess moisture can damage the electrical components. Instead, use a slightly damp cloth and gently wipe away any grease buildup.
Putting Non-Dishwasher-Safe Parts in the Dishwasher
Some air fryer baskets and trays are dishwasher-safe, but not all. Before tossing anything in the dishwasher, check the user manual. If your basket has a nonstick coating, handwashing is the safest option to prevent wear and tear.
Not Drying Parts Completely Before Reassembling
Reassembling your air fryer while it’s still damp can lead to mold, odors, or even electrical issues. Always air-dry all parts completely or wipe them down with a dry cloth before putting everything back together.
Forgetting to Clean the Air Vents
The vents help circulate hot air, and over time, grease and dust can clog them. If left unchecked, this can cause overheating or affect cooking performance. Use a small brush or a cloth to wipe around the vents every few cleanings.
How Often Should You Clean Your Air Fryer?
How often you clean your air fryer depends on how frequently you use it and what you’re cooking. Some foods leave behind more grease and residue than others, so a consistent cleaning routine is key to keeping your air fryer in top shape.

After Every Use
A quick clean after each cooking session prevents buildup and makes deep cleaning easier. Once your air fryer has cooled down:
- Remove and wash the basket, tray, and pan with warm soapy water.
- Wipe the interior and exterior with a damp cloth to remove grease and food splatters.
- Check the heating element for any visible residue and wipe it if necessary.
Once a Week (for Frequent Users)
If you use your air fryer multiple times a week, give it a more thorough cleaning at least once a week:
- Wash the basket, tray, and any removable parts with a degreasing solution or vinegar and baking soda if there’s grease buildup.
- Wipe down the heating element and air vents to prevent clogging.
Deep Cleaning Every Month
For regular maintenance, a monthly deep clean helps keep your air fryer running smoothly:
- Scrub away any lingering grease or food buildup using a baking soda paste.
- Clean the air vents with a brush or a vacuum attachment to ensure proper airflow.
- Run the air fryer empty at 350°F (175°C) for a few minutes to burn off any remaining odors or residue.
Read Also: Air Fryer vs Deep Fryer: Which Is Better
FAQs About Cleaning an Air Fryer
Cleaning an air fryer can feel like a big task, but with the right approach, it’s pretty straightforward. Here are some frequently asked questions to help you out.
Can I use metal scrubbers to clean my air fryer?
No, avoid using metal scrubbers or abrasive cleaning tools. These can scratch the nonstick coating inside the basket and tray, damaging them. Stick to soft sponges or cloths to clean your air fryer gently.
Can I put my air fryer parts in the dishwasher?
Some air fryer parts, like the basket and tray, are dishwasher-safe, but it depends on the model. Always check the manufacturer’s instructions first. For nonstick-coated baskets, handwashing is usually recommended to prevent wear and tear.
How do I get rid of bad odors in my air fryer?
To remove odors, wipe the inside of your air fryer with a mixture of equal parts white vinegar and water. You can also place a bowl of baking soda inside the basket overnight to absorb lingering smells. Running the air fryer empty at 350°F (175°C) for a few minutes can also help.
Is it safe to clean the heating element?
Yes, but with caution. Don’t soak it or use excessive moisture. Simply use a damp cloth to wipe off any grease or food particles. Avoid using harsh chemicals near the heating element.
What if my air fryer has stubborn grease stains?
If grease is stuck, try making a baking soda paste (with water) and let it sit on the affected area for 10-15 minutes before gently scrubbing with a soft brush. Alternatively, white vinegar can help break down tough grease spots.
Conclusion
Cleaning your air fryer doesn’t have to be a chore. With the right approach, it’s quick and easy to keep your air fryer spotless and smelling fresh, ensuring it cooks your meals to perfection every time. Regular cleaning, from wiping down the basket to tackling stubborn grease, will help maintain its performance and longevity.
By following the steps outlined in this guide and avoiding common cleaning mistakes, you’ll get the most out of your air fryer, keeping it in great condition for years. Whether you’re air-frying crispy fries, tender chicken, or your favorite desserts, a well-maintained air fryer makes cooking more enjoyable and efficient. Happy cooking—and cleaning!
You May Also Like: Is Air Fryer Healthier Than Microwave