If you’ve just unboxed a shiny new air fryer and are wondering, “Where do I even start?” you’re in the right place. Air fryers have taken kitchens by storm, and for good reason—they’re quick, convenient, and make healthier cooking easier than ever.
But let’s be honest: staring at those buttons and figuring out how to use it can feel a bit overwhelming. Don’t worry—I’ve got you covered. This guide will walk you through everything you need to know to start using your air fryer like a pro.
From setting it up to cooking your first batch of crispy fries, I’ll break it all down step by step. By the end, you’ll feel confident enough to whip up everything from crunchy veggies to perfectly golden chicken wings. Ready? Let’s dive in!
What Is an Air Fryer and Why Use It?
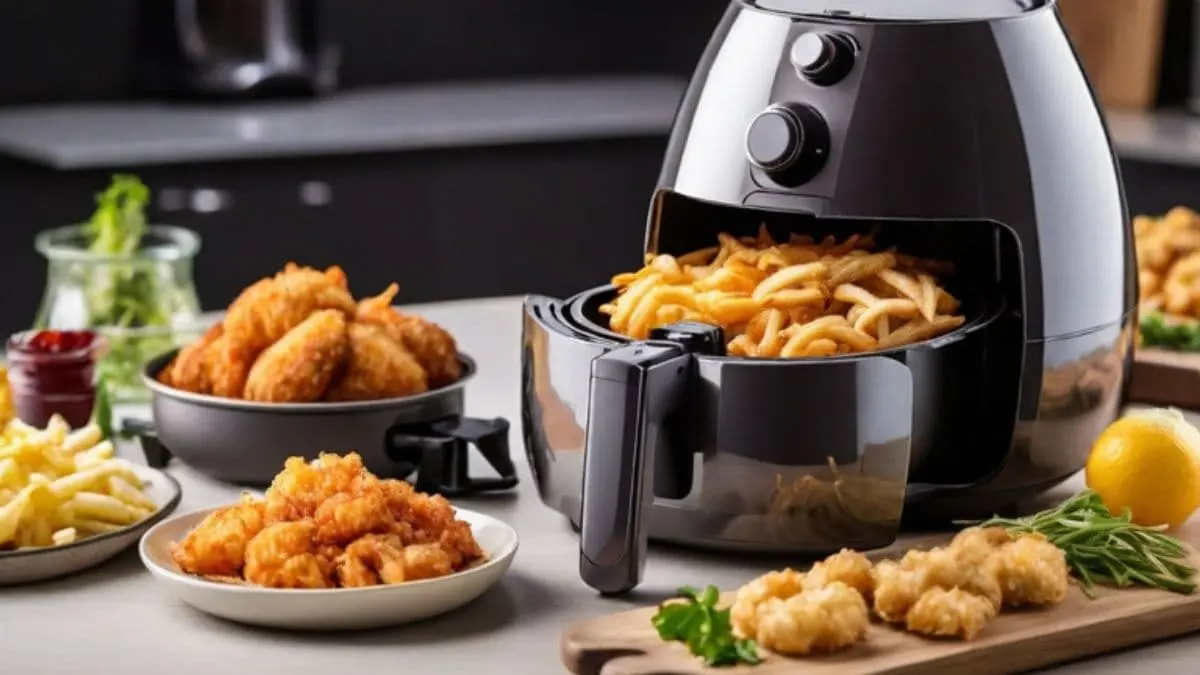
An air fryer is like a mini convection oven on steroids. It uses powerful, circulating hot air to cook food quickly and evenly, giving it that crispy, golden texture we all love—without needing a deep fryer or loads of oil.
Instead of submerging food in oil, an air fryer lightly coats it (if needed) and cooks it with high-speed air circulation. This makes it a healthier option for enjoying your favorite fried foods, like fries, chicken, or even donuts.
Why Use an Air Fryer?
Air fryers aren’t just about convenience—they’re a game changer for home cooking. Here’s why:
- Healthier Cooking: You can achieve crispy results with up to 80% less oil compared to traditional frying. Perfect for guilt-free indulgence!
- Quick and Efficient: Most foods cook in half the time compared to an oven. Need dinner on the table fast? Your air fryer has you covered.
- Versatility: Beyond frying, you can bake, roast, grill, and even reheat leftovers in your air fryer. It’s like having multiple appliances in one.
Air Fryer vs. Traditional Frying
| Feature | Air Fryer | Traditional Frying |
| Oil Usage | Minimal or none | High (submerges food) |
| Cooking Time | Shorter | Longer for larger batches |
| Texture | Crispy but less oily | Crispy and oily |
| Cleanup | Easier (non-stick basket) | Messy (oil splatters) |
Using an air fryer isn’t just practical—it’s also fun. You can experiment with recipes you’d never think to try in a deep fryer or oven, all while keeping things lighter and healthier.
Setting Up Your Air Fryer for the First Time
Before you dive into air frying your favorite snacks, it’s important to set up your new appliance properly. Don’t worry—it’s quick and easy, and you’ll only need to do it once. Here’s a simple guide to get started.
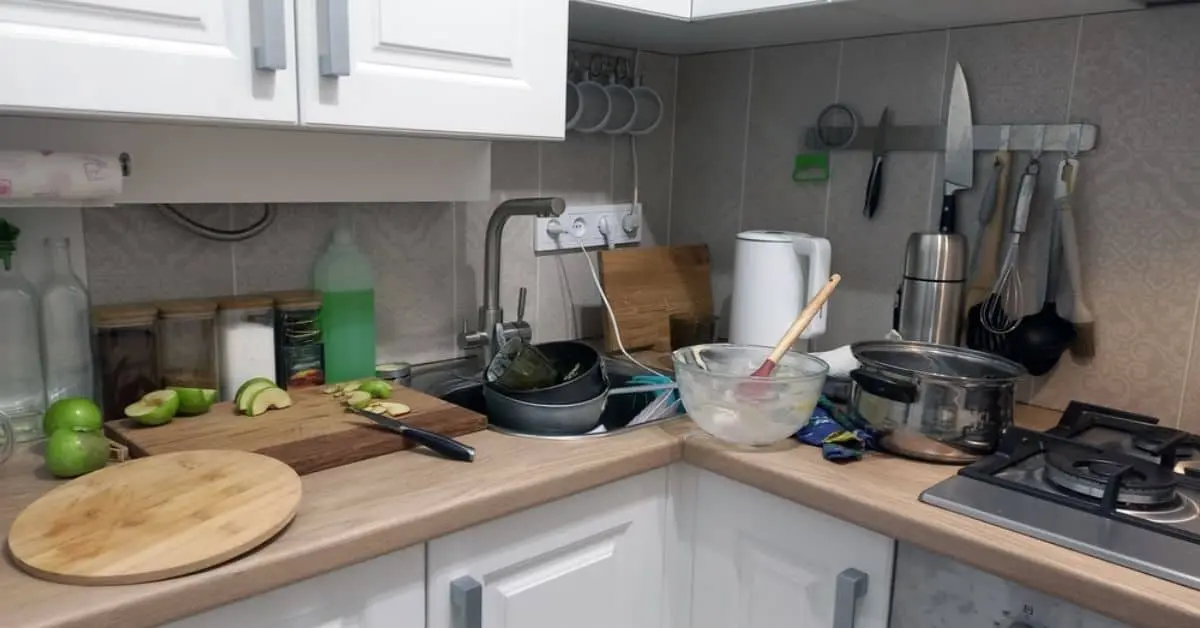
Step 1: Unboxing and Initial Cleaning
Start by unboxing your air fryer and removing all plastic, stickers, and packaging materials. Take out the basket and any removable trays. Wash them with warm, soapy water to remove any factory residue. Wipe the exterior and interior of the machine with a damp cloth.
Make sure everything is dry before putting it back together.
Step 2: Choose the Right Spot
Air fryers need good airflow to work properly and stay safe. Place yours on a flat, heat-resistant surface with plenty of space around it—at least 5 inches on all sides. Avoid placing it under cabinets, as hot air vents out the top or back.
Step 3: Familiarize Yourself with the Parts
Take a quick look at the user manual to identify the key components:
- Basket and Tray: Where the magic happens. Food goes here!
- Control Panel: Includes temperature, time settings, and pre-programmed modes.
- Ventilation: Usually at the back or top for heat release.
Step 4: Perform a Test Run
Many manufacturers recommend a quick test run before your first real use:
- Plug in the air fryer.
- Preheat it for 3-5 minutes at a high temperature (e.g., 400°F/200°C).
- Check for any odd smells (these are normal during the first use as new parts heat up).
This step helps ensure the air fryer is working correctly and gets rid of any initial odors.
How to Use an Air Fryer: Step-by-Step

Using an air fryer is simpler than you might think. Whether you’re a seasoned cook or a beginner, this step-by-step guide will help you get the best results. Let’s break it down into easy-to-follow steps so you can start air frying with confidence.
Step 1: Preheating Your Air Fryer
Preheating might seem unnecessary, but it’s a small step that can make a big difference. Preheating allows the air fryer to reach the right temperature, ensuring even cooking and a crispy finish.
Most air fryers have a preheat button; if yours doesn’t, simply set the temperature to what your recipe calls for and let it run empty for 3-5 minutes. Skipping this step can lead to uneven results, especially with foods like chicken or fries that need that initial burst of heat for a perfect texture.
Not sure how to do it? Check out our article on How to Preheat an Air Fryer for a simple guide to help you get the most out of your appliance every time you cook.
Step 2: Preparing Your Ingredients
The key to a successful dish lies in proper preparation. Start by washing, cutting, and seasoning your ingredients. For foods like vegetables or chicken, a light coating of oil can enhance crispiness. Don’t overdo it—a teaspoon or two is plenty for most recipes.
For frozen foods, like fries or nuggets, you can cook them straight from the freezer. However, if you’re using fresh ingredients, make sure to pat them dry to reduce moisture. Wet foods won’t crisp up as well in the air fryer.
Step 3: Arranging Food in the Basket
How you load the basket matters. Overcrowding the basket can block the hot air from circulating properly, leading to uneven cooking. Spread your ingredients out in a single layer, leaving some space between pieces.
If you’re cooking a larger batch, consider cooking in multiple batches rather than cramming everything in at once. For items like chicken wings or fries, shaking the basket partway through cooking can also help ensure even browning.
Step 4: Setting the Temperature and Timer
This is where the magic happens. Most air fryer recipes will include specific temperature and time settings. For example, fries typically cook at 375°F for 15-20 minutes, while chicken thighs may need 400°F for 20-25 minutes.
If you’re experimenting without a recipe, start with general guidelines:
- 350°F for baked goods like muffins or cookies.
- 375°F for vegetables or frozen foods.
- 400°F for proteins like chicken, steak, or fish.
Always keep an eye on your food, as cooking times can vary depending on the model of your air fryer.
Step 5: Monitoring and Shaking
Halfway through cooking, pause your air fryer and give the basket a good shake. This helps redistribute the food for even cooking. Think of it as flipping food in a pan—it’s essential for achieving consistent results.
Some air fryers will beep or prompt you to shake, but if yours doesn’t, set a timer on your phone as a reminder. For delicate items like fish or pastries, use tongs or a spatula to turn them instead.
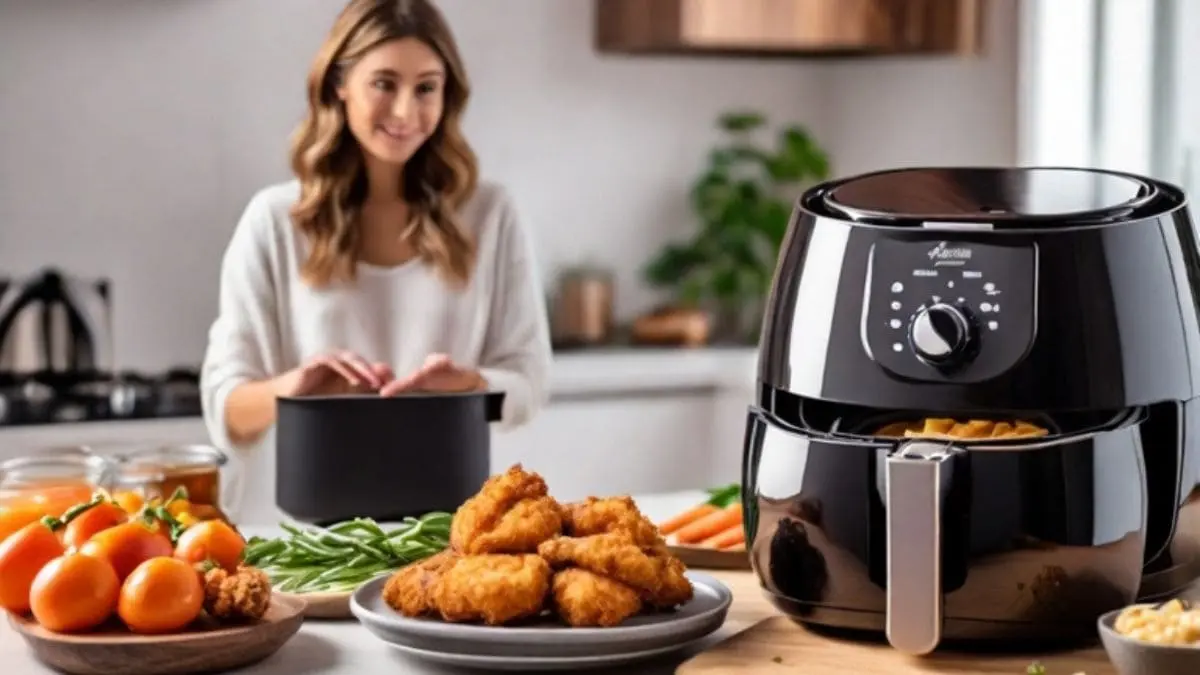
Step 6: Removing and Serving Your Food
When the timer goes off, it’s time to take out your masterpiece. Use oven mitts or a heat-resistant pad to safely remove the basket—it can get very hot. Carefully transfer your food onto a plate using tongs, especially for items like chicken wings or steaks.
Give the basket a few minutes to cool down before cleaning it. If you’re cooking multiple batches, keep finished items warm in the oven while the next batch cooks.
Tips for Getting the Most Out of Your Air Fryer
Mastering your air fryer is about more than just following recipes. A few pro tips can make all the difference in achieving perfect results every time. Whether you’re a beginner or a seasoned user, these suggestions will help you unlock the full potential of your air fryer.
Don’t Skip Preheating
Preheating isn’t just a formality—it sets the stage for even cooking. Foods like chicken wings or fries benefit from the initial blast of heat, helping them crisp up faster. If your air fryer doesn’t have a preheat function, simply run it at your desired cooking temperature for 3-5 minutes before adding food.
Avoid Overcrowding the Basket
Air fryers work by circulating hot air around your food. Overloading the basket prevents air from reaching every piece, leading to uneven cooking. For the best results, cook in batches and give each piece space to breathe.
Shake the Basket Midway Through Cooking
Shaking the basket during cooking redistributes the food and ensures even browning. This is especially important for items like fries, nuggets, or roasted veggies. If your air fryer doesn’t remind you to shake, set a timer halfway through the cooking process.
Use the Right Amount of Oil
While you don’t need much oil, a little goes a long way in achieving crispy textures. Stick to light sprays or brush on a teaspoon of oil for foods like veggies, chicken, or fish. Avoid pouring oil directly into the basket, as it can cause uneven coating or smoke.
Experiment with Accessories
Many air fryers are compatible with accessories like grill racks, baking pans, or skewers. These open up a world of possibilities for cooking foods like pizza, kebabs, or even baked goods. Check your air fryer’s manual to see which accessories are recommended for your model.
Know What to Avoid
Not all foods are air fryer-friendly. Wet batters, like those used for tempura, won’t crisp up properly. Similarly, lightweight items like spinach can blow around inside the fryer. Stick to foods that can handle the hot air circulation for the best results.
Keep It Clean
A dirty air fryer can lead to unwanted flavors and even smoke. After each use, wash the basket and tray with warm, soapy water. Wipe down the interior to remove crumbs and grease. Regular cleaning keeps your air fryer performing at its best.
Common Questions About Using an Air Fryer
Air fryers have quickly become a kitchen favorite, but if you’re new to them, you might have some questions. Let’s address some of the most common concerns so you can use your air fryer with confidence and ease.
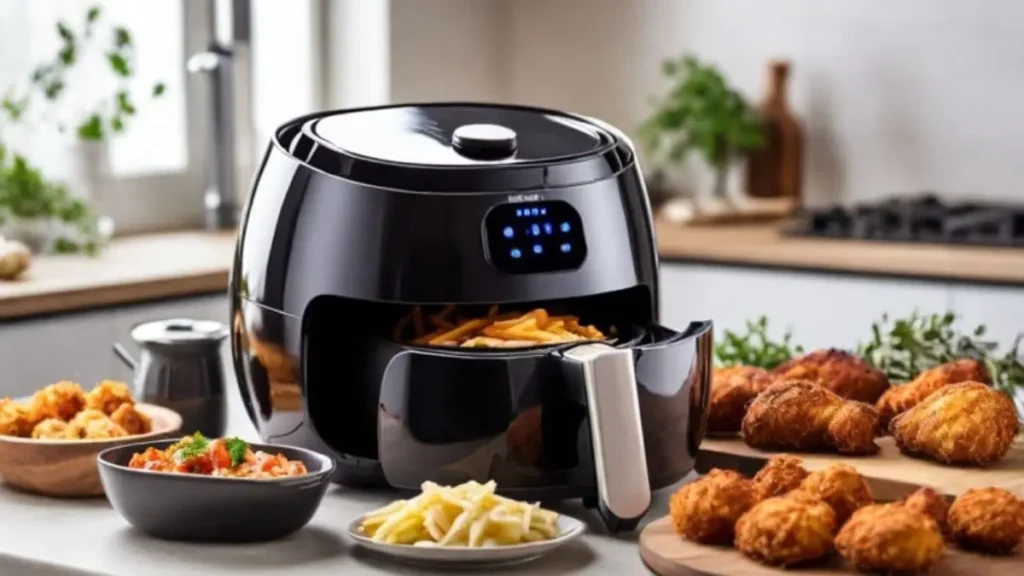
Can You Cook Frozen Foods in an Air Fryer?
Absolutely! In fact, frozen foods are one of the easiest things to cook in an air fryer. Whether it’s fries, chicken nuggets, or mozzarella sticks, the air fryer’s rapid circulation of hot air crisps up frozen foods beautifully without the need for defrosting.
To cook frozen items:
- Preheat your air fryer for best results.
- Spread the frozen food in a single layer to ensure even cooking.
- Adjust the temperature and time based on the packaging instructions, reducing the cooking time slightly since air fryers cook faster than traditional ovens.
The result is perfectly crispy food in less time and without the soggy texture you sometimes get from microwaving. Check out our detailed guide on cooking frozen food in an air fryer to learn tips and tricks for perfecting frozen dishes.
Do You Need to Use Oil in an Air Fryer?
Not necessarily! One of the air fryer’s biggest selling points is its ability to crisp up food with little or no oil. For many frozen foods, no additional oil is needed because they already contain some fat.
However, for fresh ingredients like vegetables or proteins, adding a small amount of oil can enhance crispiness and flavor. Use a light spray or brush on a teaspoon of oil for best results. Avoid using too much, as excess oil can drip into the basket and cause smoking.
If you’re going for a no-oil approach, you can still get great results by experimenting with seasonings or marinades that promote caramelization and crisping.
What Foods Should You Avoid Cooking in an Air Fryer?
While air fryers are incredibly versatile, some foods don’t work well in them. Wet-battered items, like tempura or beer-battered fish, are best avoided because the batter can drip through the basket and create a mess.
Lightweight foods like spinach or other leafy greens can get blown around by the powerful air circulation. If you want to cook greens, consider anchoring them with heavier ingredients or using a different cooking method.
Cheese-based recipes, unless breaded or contained (e.g., mozzarella sticks), can also create a mess. It’s better to bake or grill open cheese dishes like quesadillas or grilled cheese sandwiches.
Understanding these limitations will save you frustration and keep your air fryer clean.
How Do You Clean an Air Fryer After Use?
Cleaning your air fryer regularly ensures it performs well and lasts longer. Start by letting it cool completely after use. Remove the basket and tray, and wash them with warm, soapy water. Most air fryer baskets are non-stick, so avoid abrasive sponges that could damage the coating.
For stuck-on residue, soak the basket in soapy water for 10-15 minutes before scrubbing. The interior of the air fryer can be wiped with a damp cloth to remove crumbs or grease splatters. If your model has a heating element at the top, make sure it’s clear of debris.
Many air fryer baskets are dishwasher-safe but always check your user manual first. A quick cleanup after each use will keep your air fryer running smoothly and prevent unpleasant odors from lingering.
Final Thoughts on Using an Air Fryer
Air fryers are more than just a passing kitchen trend—they’re a game-changing appliance that can simplify your cooking, save you time, and help you make healthier meals without sacrificing flavor. Whether you’re cooking for yourself or preparing meals for the whole family, the air fryer’s versatility and ease of use make it a must-have tool in any kitchen.
By following the steps outlined in this guide, you’ll quickly get the hang of using your air fryer. Preheat it, arrange your ingredients properly, set the right temperature, and keep an eye on your food as it cooks. The result will be crispy, flavorful dishes with minimal effort.
And remember, the best part of using an air fryer is the freedom to experiment. From roasting vegetables to baking desserts, the possibilities are endless. The more you use it, the more you’ll discover just how much it can do.
So, if you haven’t already, go ahead and try your air fryer out on something new—whether it’s your favorite comfort food or a fresh, healthy recipe. Happy cooking!